Are you tired of frequent nail salon visits and looking for a long-lasting, salon-quality manicure you can do at home? Dip top nails might be your perfect solution. This trend has taken the nail industry by storm, offering durability and a flawless finish without the need for UV lamps or complex techniques. Here’s everything you need to know to achieve the perfect dip top nails.
What Are Dip Top Nails?
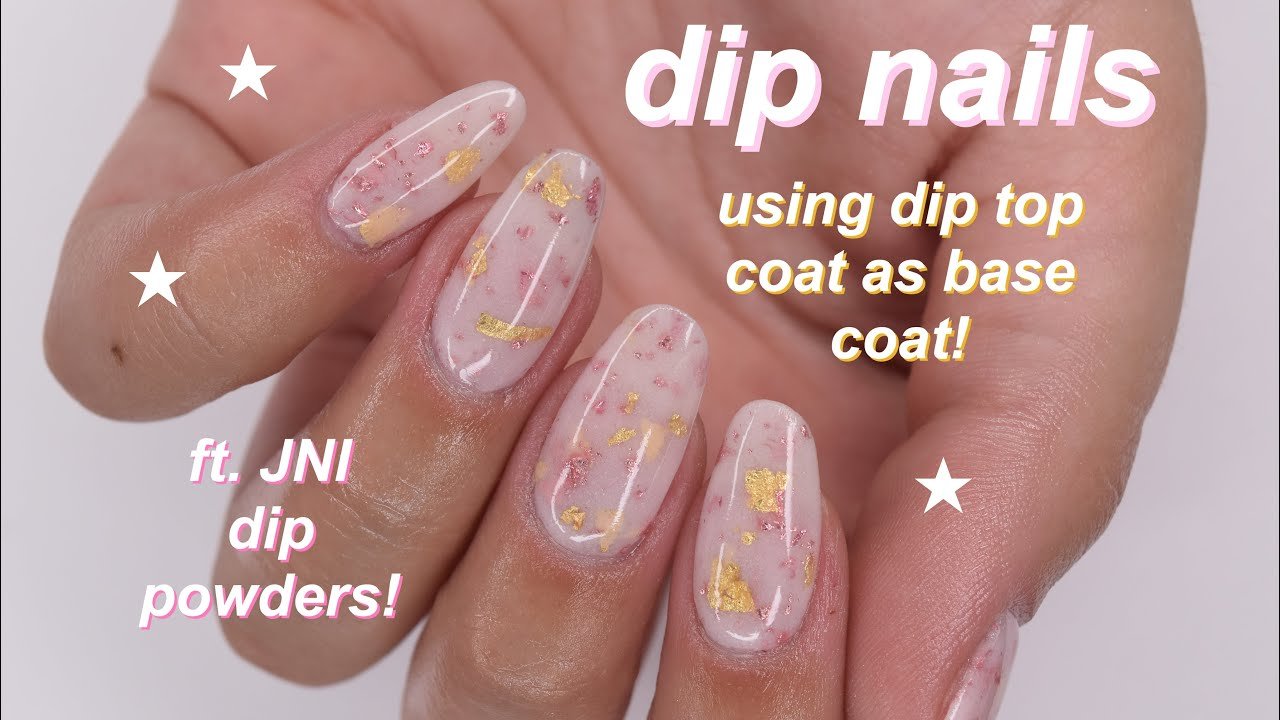
Dip top nails are a type of manicure where a special powder is applied to your nails in a dipping process. This method involves dipping your nails into a colored powder and sealing them with a topcoat. Unlike traditional acrylics or gels, dip powder nails do not require UV light to cure, making them a safer and more convenient option.
Why Choose Dip Top Nails?
- Longevity: Dip nails can last up to 4 weeks without chipping or peeling, making them an excellent choice for those who want long-lasting results.
- No UV Light: The process doesn’t require UV light, which means less exposure to potentially harmful rays.
- Durability: The formula is designed to be strong and resilient, which means your nails are less likely to break or chip.
- Quick Drying: Dip nails dry almost instantly, so you don’t have to worry about smudges or waiting for your nails to dry.
How to Apply Dip Top Nails at Home
Materials Needed:
- Dip powder kit (includes base coat, colored powder, and topcoat)
- Nail file and buffer
- Nail cleanser
- Cuticle pusher
- Activator (optional, depending on the kit)
Steps:
- Prep Your Nails: Start by removing any old polish, filing your nails to your desired shape, and pushing back your cuticles. Buff the surface of your nails to remove any oils and create a smooth surface.
- Clean Your Nails: Use a nail cleanser to ensure your nails are free from any dust or oils.
- Apply Base Coat: Brush a thin layer of base coat onto your nails, making sure to cover the entire nail surface but avoiding the cuticles.
- Dip Into Powder: Immediately dip your nail into the colored powder at a 45-degree angle. Make sure the powder covers the nail evenly. Gently tap off any excess powder.
- Apply Activator: If your kit includes an activator, apply it over the dipped nails to set the powder. Follow the instructions on your kit for the correct timing.
- Brush On Topcoat: Apply a generous layer of topcoat to seal the dip powder. This will give your nails a glossy finish and add extra durability.
- Repeat: For added intensity and longevity, you can repeat the dipping and topcoating process.
- Clean Up: After your nails are fully dry, wash your hands to remove any residual powder or topcoat. Apply cuticle oil to keep your cuticles healthy and moisturized.
Tips for Perfect Dip Top Nails
- Choose Quality Products: Invest in a reputable dip powder kit to ensure the best results.
- Follow Instructions: Each dip powder kit may have slightly different instructions. Always follow the manufacturer’s guidelines.
- Avoid Overuse: While dip nails are durable, they can still damage your natural nails if used too frequently. Give your nails a break between applications.
- Moisturize Regularly: Keep your cuticles and hands moisturized to maintain nail health.
Removing Dip Top Nails
To remove dip nails, soak your nails in acetone for about 15-20 minutes, then gently push off the dip powder with a cuticle pusher. You may need to file off any remaining product. Follow up with a nail strengthener or moisturizer to nourish your nails.
Conclusion
Dip top nails offer a fantastic combination of durability, ease of application, and long-lasting results. With the right products and techniques, you can achieve a professional-looking manicure right at home. Whether you’re looking to save time, money, or just love experimenting with new nail trends, dip top nails are worth trying out. Happy dipping!